Dyeing Easter Eggs with Onion Skins

Eggs have long symbolized spring and fertility, partly because of their spherical shape.
A sphere, or a circle, has no beginning and no end, which is why it often represents the cycle of life.
The tradition of decorating eggs is at least 2,500 years old. Historians seem to agree that the custom began with the Zoroastrians in ancient Persia, who dyed eggs for Nowruz, the Persian New Year. Early Christians in Mesopotamia adopted this tradition from the Zoroastrians, coloring eggs red to commemorate the blood of Christ shed during the crucifixion.
This custom has been preserved to this day among Christians (and also among non-Christians – because coloring eggs is fun!), and painted eggs are an essential part of every Easter basket that believers bring to church for blessing.
One of the simplest ways to dye eggs is with onion skins. That’s how I learned to color eggs with my grandmother. Recently, I came across eggs with a photo-negative pattern in the book Cook Eat Slovenia by Špela Vodovc. They complement the onion skin-dyed eggs beautifully, so here I’m sharing an adapted version of her recipe.
Dyeing Easter Eggs with Onion Skins
Ingredients:
brown eggs
dried red and yellow onion skins
nylon stockings
1 egg white
scissors
flowers and herbs (for patterns)
rubber bands (optional)
vegetable oil (for shine)
large pot
Instructions:
Take the eggs out of the refrigerator about two hours before dyeing. It’s important that they are at room temperature before you boil them, as cold eggs can crack when they come into contact with hot water.
Pick flowers and herbs that you’ll use to create patterns (there’s an image below for inspiration). Leaves with fine edges and small flowers work best.


- Gently coat each egg with egg white, then carefully press the flowers or herbs onto it.
- Cut the nylon stockings into pieces large enough to comfortably wrap around each egg. Gently wrap the egg along with the flower or herb, making sure the plant stays in place, and tie it tightly – with a ribbon, rubber band, or a knot.
- Fill a large pot with water and add plenty of onion skins. I placed some skins on the bottom of the pot, then layered in the eggs, and finally added more skins on top. There should be enough water to fully cover the eggs.
- Bring to a boil and let cook for 30 minutes.
- After 30 minutes, check the color. If you like it, you can remove the eggs. I soaked mine for about 6 hours (some even longer for comparison, but there was no noticeable difference between soaking for 6 and 24 hours).
- Once the eggs have cooled, take scissors and cut off the stockings.
- Wipe each egg to remove the flower or herb used for decoration.


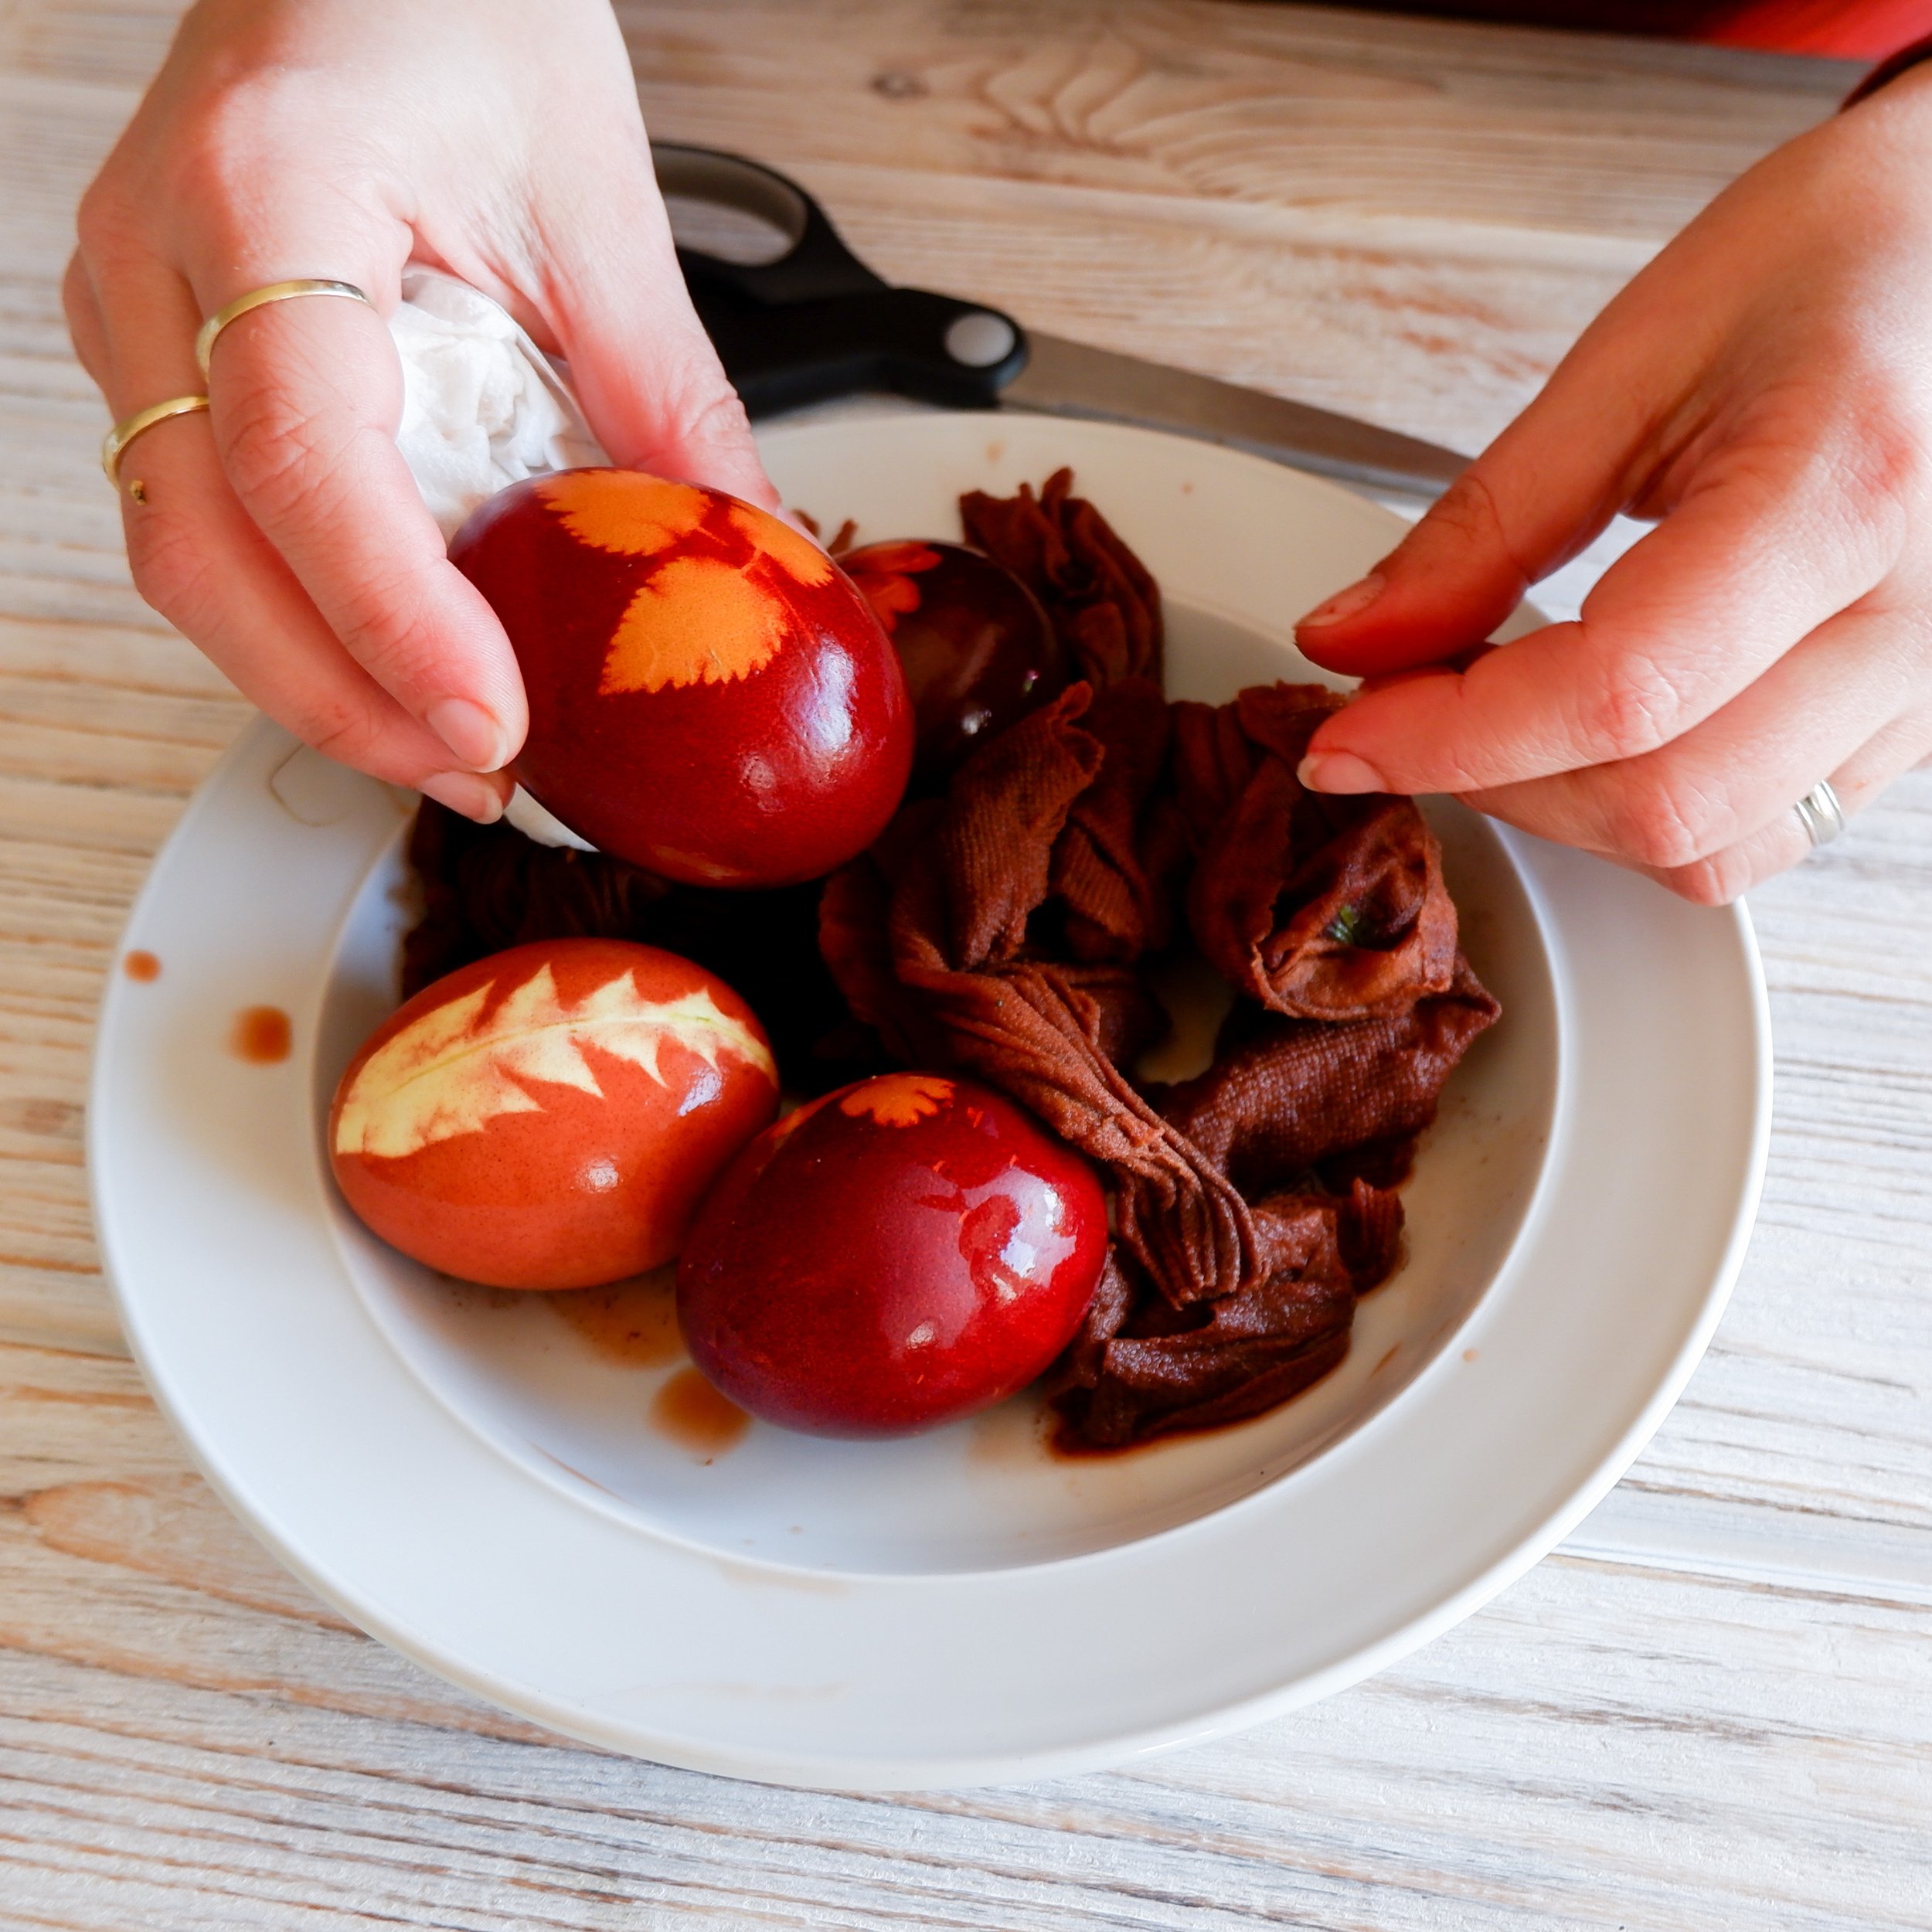
- If you want the eggs to have a nice shine, lightly rub them with a bit of vegetable oil at the end.
- Place them in a basket and enjoy the beautiful view.

Photo-negative eggs.

Eggs dyed with onion skins.
Recipe for Dyeing Easter Eggs with Rosehip
Ingredients:
brown eggs
3 tablespoons vinegar
5 rosehip tea bags (I used a fruit tea blend that contained rosehip – instead of 5, I used 8 tea bags)
1/2 teaspoon salt
nylon stockings
1 egg white
scissors
flowers and herbs (for patterns)
rubber bands (optional)
vegetable oil (for shine)
large pot
Instructions
Follow steps 1–4 from the previous recipe.
Gently place the eggs into a pot and cover them with water so that they are fully submerged. Add the salt, vinegar, and the contents of the rosehip tea bags (you can cut the tea bags open and pour the contents directly into the water).
Simmer the eggs for about 10 minutes over medium heat. There might not be a visible change right away. To check if the dyeing process worked, gently rub the surface of one egg with your finger — if the natural eggshell color starts to peel away under pressure, the eggs are ready to be removed from the water.
Once the eggs have cooled, carefully cut the nylon stockings with scissors and remove the plant material. Wipe the eggs clean and gently rub off the natural dye.


